Forums
Worked on the olde QuickSilver ll canoe today. Sanded off the chalky gel coat down to stuff unaffected by UV exposure, was left with a scratchy surface for great epoxy mechanical attachment, then gave it a decent coat of epoxy. Mistake #1 and only #1: mixed a 1-liter batch of epoxy to avoid mixing several small batches. Worked great for 1/2 of the canoe...and then things got real hot...forgot why it's very important to use only small batches of epoxy.


The canoe with 1 coat of epoxy on it
2 coats of epoxy completed
It's midnight and she's got 2 coats of epoxy now. Next step while I wait for the cure is to install the new yoke and cross brace. She'll be painted with fire red Brightside one part epoxy
Canoe sanded and first coat of Brightside applied
First coat of Brightside applied. I'm impressed with how well it laid out and produced a smooth surface. Second coat tomorrow because it needs one...barely.
Final coat of paint applied to outside of hull
Not the best image but...the final coat of Brightside has been applied. Tomorrow I'll flip 'er over and remove the cross-pieces and seats n get on with painting the inside of the hull. After that I'll install the new oak cross-pieces and then figure out if I want to make my own wood cup holders or install some kind of aftermarket thingies.
special sprays for restoring
As for me, I boat a spray and wax for caring here. And it's better to store it in dry place too :)
Adeld, the canoe is usually strung up just below ...
...the rafters in the garage.
Inner hull issues...
I washed the inside of the hull today in prep for painting. Discovered areas where the glass separated from the gel coat. Guess I got more epoxy work to do. I'll peel back the de laminated glass until it's hard to remove then use a chopped glass/epoxy mix to fix it. Removed the old oak, replacing with new oak.
Thwart
The yoke you carved is beautiful, and one of the most comfortable types I have ever used to carry a canoe (and I get to carry a lot of canoes as I repair them for a couple of local dealers).
Truly a job well done.
It is the seemingly minor details that really make a piece extraordinary.
I have seen one like it on a few deluxe canoes with a small notch for where the yoke would rest on one's spine. That might be another touch you could add afterwards should you find it desirable.
Keep up the great work,
John VB
Inner hull damage repaired
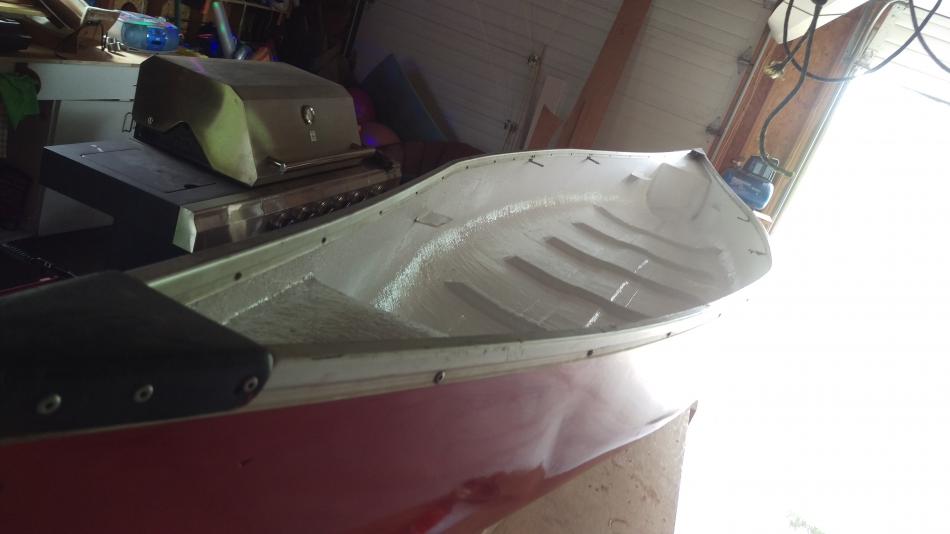
After I pressure washed the inner hull, I found a few areas which needed minor repairs. I patched them up with a dab of cabosil-thickened epoxy or a bit of glass. The tip of the cap on the bow was broken off so I created a band of folded glass, about 1cm x 5 cms, glued it to the inner sides of the cap and used electrical tape to hold it in position while the glue hardens. I filled the hollow with thickened epoxy enough so that I can shape the new tip in one go, hopefully without needing more filler. The pics below show what I'm talking about. I also used an abrasive rubber brush on a drill to clean and rough up the interior to prep it for painting with white Brightside marine paint. If all goes well, I expect the canoe to be water ready by the end of Monday coming.
Bow cap repair in progress
Once the glue is hard, I'll shape the nose of the bow cap, smooth it up, then paint it black with Tremclad (because I have it and it makes for a nice job on epoxy)
Inner hull cleaned up
I really don't need to paint the inner hull but I figure that if I'm going to fix it up then I may as well make it look as good as I can...especially since I had the paint laying around anyway.
Notch
Thank you for the suggestion. I'll notch it before it gets into place.
Inner hull painted with Brightside marine paint
I got the inner hull painted. The Brightside went down well. There are a couple of spots where the paint simply would not stick...two areas where the fibreglass finish was very coarse and, apparently, very dirty still. The inner hull was pressure washed with soap and a very good rinse but I'm guessing that the pond scum build-up over the years could not be removed in these areas. At any rate, the canoe is ready to be put back together. I'll shape the rebuilt bow cap over the weekend to get it ready for painting.
Notched yoke
John, I put the notch in the yoke, I used my own neck to decide where and how deep to make it...it feels much better on my neck than it did before. Thanks for the input.
Happy to be of some help. …
Happy to be of some help.
Now I need to build a canoe so I have a need to carve a yoke of my own.
John VB
Canoe is done
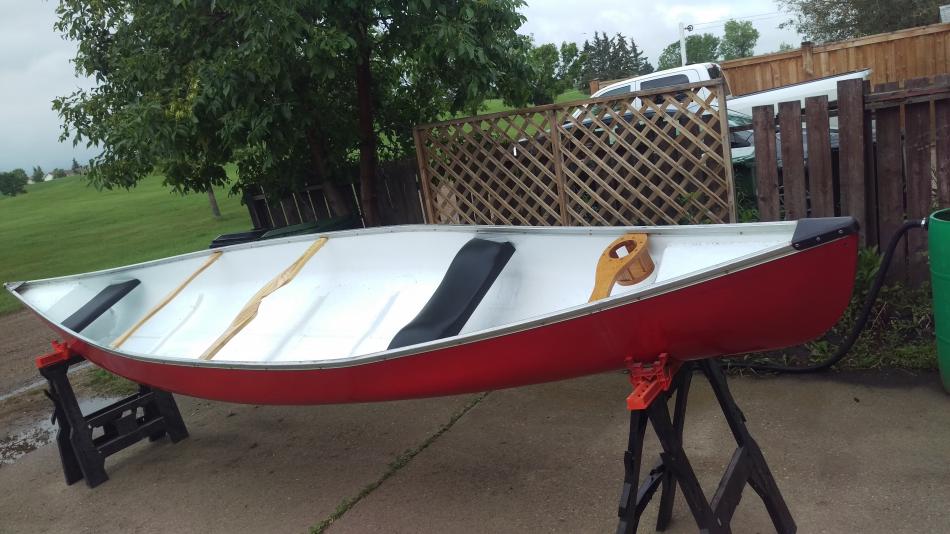
I finished up my canoe restoration project this morning. Shaped the repaired bow cap to good effect, installed the cup holder at the bow end of things to hold Shannon's water bottle, added one more coat of varnish (Spar) to the yoke, mid thwart, and cup holder, still deciding if I want to carve oak hand holds or buy a couple of plastic aftermarket handles, then I'll get some aluminum brightener to clean up the trim a little. The canoe looks great.
Another view
And another view
Repaired bow cap after a little blacking painted on it. I used T
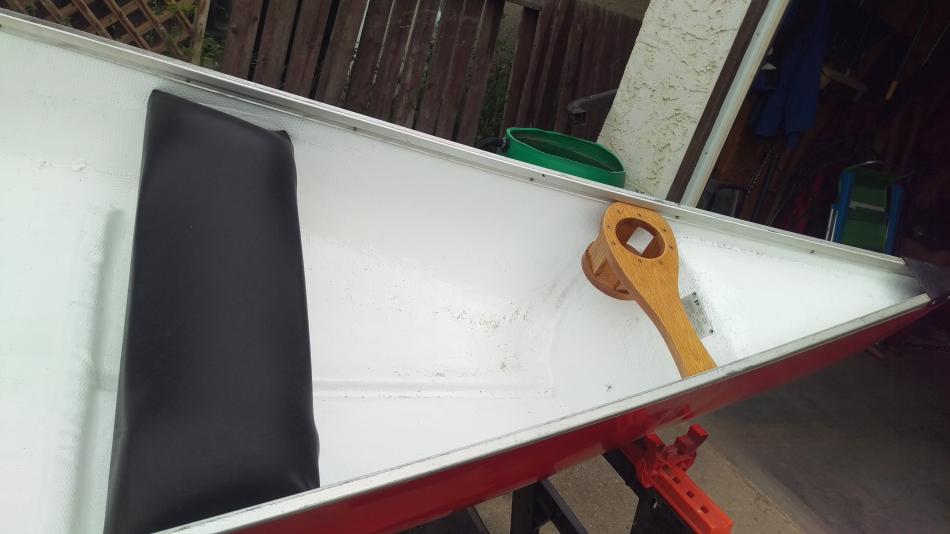
Cup Holder
The cup holder is made from a piece of red oak I've been hanging onto for about 13 years. It is screwed together so that it can be easily repaired some day in the future. It has 3 coats of varnish on its surface to keep it dry and UV protected. I was going to make a closed cup holder but realized that it's better that it has a way to drain quickly. It was also a lot easier to build the way I did it. All this said, it'll hold a nice can of Guinness, too!